The 2005 GMC Sierra 1500 is a truck built to last, but its factory halogen headlights are a glaring exception to its legendary durability. After nearly two decades, those original composite housings are likely hazy, yellowed, and delivering a dim, scattered beam that compromises nighttime safety. Upgrading to modern LED technology is the most effective solution, offering dramatically brighter illumination, a crisp white light, and a contemporary look that transforms your truck's front-end appearance. However, for this GMT800 platform, a successful LED conversion requires understanding your options and following a precise process. This complete guide walks you through every step, from choosing the right components to final beam alignment.
Understanding Your Upgrade Options: Bulbs vs. Complete Assemblies
Before purchasing anything, you must decide between two fundamentally different upgrade paths. The first is installing LED replacement bulbs into your existing factory halogen housings. This is the most budget-friendly option, typically costing $50-$150. However, it comes with a significant caveat: your factory reflector housing is optically engineered for the specific point of light from a halogen filament. Most LED bulbs position their chips on flat surfaces, which can scatter light incorrectly, creating a poor beam pattern with dark spots and excessive glare for oncoming traffic. If you choose this path, you must select bulbs specifically designed to mimic a halogen's 360-degree light output and include built-in CAN bus compatibility or anti-flicker resistors to prevent dashboard errors.
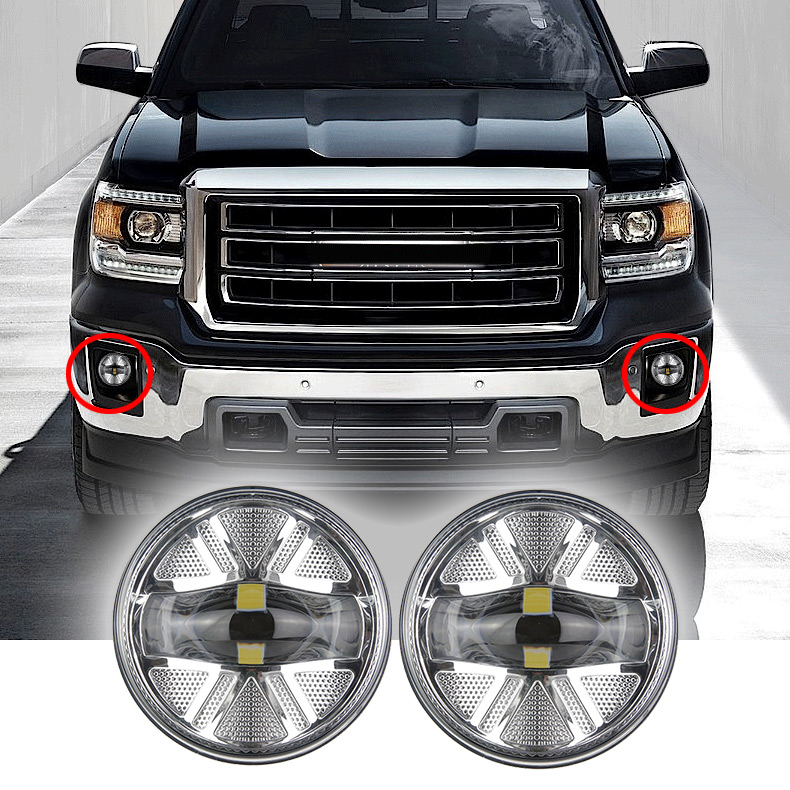
The superior—and strongly recommended—option is installing complete 2005 GMC Sierra LED headlights assemblies. These are aftermarket units designed specifically for the 2005-2007 GMT800 Sierra, replacing the entire factory housing. Their key advantage is a dedicated projector lens engineered for the specific LED chips inside. This creates a perfect, focused beam pattern with a sharp horizontal cutoff line—brilliantly illuminating the road ahead while preventing dangerous glare for oncoming drivers. Premium assemblies often feature modern styling elements like black housings, LED daytime running light (DRL) halos, and sequential turn signals, giving your Sierra a contemporary, aggressive appearance. Brands like Spec-D Tuning, Eagle Eyes, and AKKON offer direct-fit options ranging from $150-$350 per pair.
Step-by-Step Installation Process
Once you've selected your new LED assemblies, gather your tools: a 10mm socket, ratchet, Phillips screwdriver, trim panel removal tools (or a flathead screwdriver wrapped in tape), and electrical tape. Begin by disconnecting the negative battery terminal to prevent any electrical shorts. Open the hood and locate the three 10mm bolts securing each headlight assembly. The top two bolts are easily accessible, but the third inner bolt requires partially removing the front grille. Remove the Phillips screws along the top edge of the grille and the plastic push-pins in the radiator cover. Gently pull the top of the grille forward—you don't need to fully remove it, just flex it enough to access the inner bolt with your socket.
After removing all three bolts, carefully pull the headlight assembly straight forward. Disconnect the main wiring harness plug by pressing the release tab. Before installing your new LED assembly, test all functions by temporarily connecting it to the factory harness and reconnecting the battery. Verify low beam, high beam, and parking light operation. If you experience flickering or hyper-flashing, install any included anti-flicker modules or CAN bus decoders according to the manufacturer's instructions. Once confirmed working, disconnect the battery again, secure the new assembly with the three 10mm bolts (hand-tighten only—overtightening can crack the mounting tabs), and carefully route any excess wiring into the engine bay.
The Critical Final Step: Aiming Your Headlights
This non-negotiable step determines whether your expensive new lights are a safety asset or a hazard. Even perfect projector assemblies are dangerous and illegal if misaligned. Park your Sierra on level ground 25 feet from a wall or garage door. Turn on the low beams and locate the adjustment screws on top of each headlight housing. Using a Phillips screwdriver, adjust the beams so the sharp horizontal cutoff line is at or slightly below the height of the headlight's center from the ground. The passenger-side light can be aimed very slightly higher to illuminate road signs, but the driver's side must remain level to prevent blinding oncoming traffic. If your new assemblies feature projector shutters for high/low beam switching, verify that the high beam function properly raises the beam pattern.
Wiring Considerations and Common Pitfalls
For 2005 Sierras, especially those with factory DRLs or the optional Bose system, electrical compatibility requires attention. Quality aftermarket assemblies are designed as plug-and-play, but some trucks may experience the "DRL ghost light" phenomenon—a faint glow when the lights are off. This occurs because the GMT800's DRL circuit sends a pulsed signal that can partially illuminate LEDs. The fix is simple: install a load resistor or a DRL cancellation module on the DRL circuit. If your new lights have separate turn signal wires (common on assemblies with sequential functions), you may need to splice into the factory turn signal wiring using provided T-tap connectors. Always use heat-shrink butt connectors or solder for reliable, weatherproof connections.
By following this comprehensive guide, you'll transform your 2005 Sierra from a truck with dangerously inadequate lighting into a vehicle with modern, high-performance illumination. The upgrade not only enhances safety for you and everyone on the road but also gives your classic GMT800 a fresh, contemporary presence that turns heads day and night.